Subscriptions
The Subscription module in the Publisher portal is mainly used to subscribe to a free plan for a developer organization.
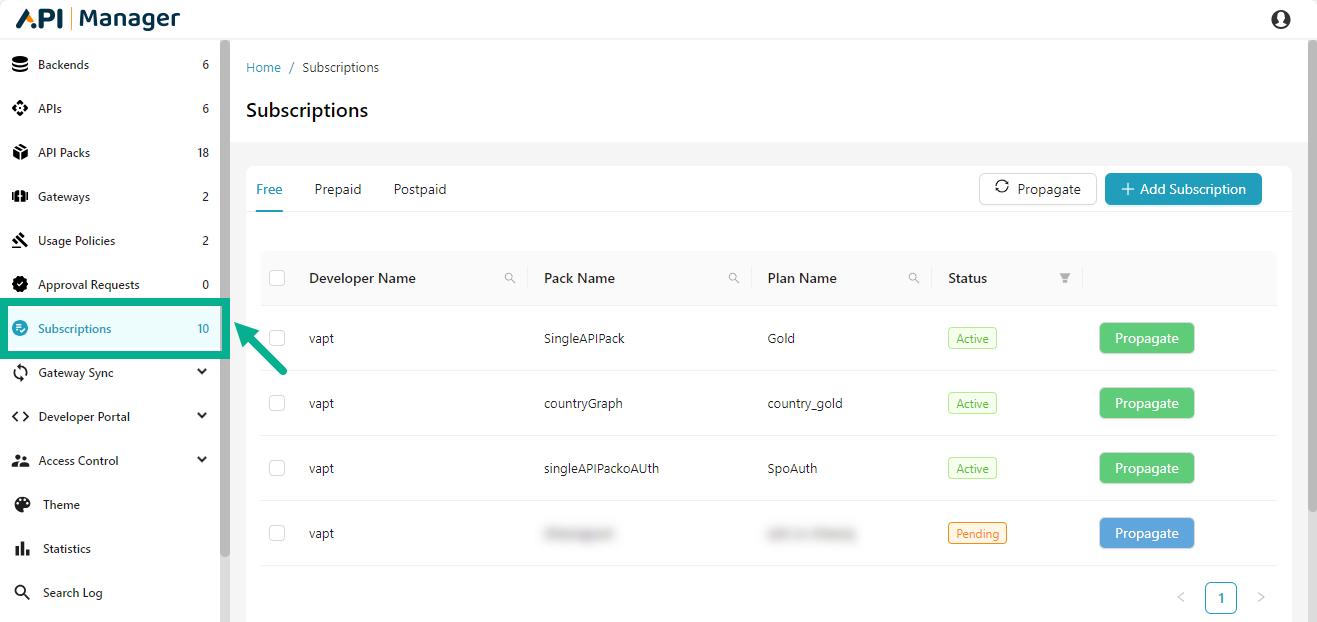
The subscription module differentiates and displays the free, prepaid and postpaid plans that the specific developer has previously subscribed.
Propagate an available Subscription
Plans are propagated to bring it up to date with the latest release, subscriptions connected with plans must also be propagated in order to get the most recent plan updates.
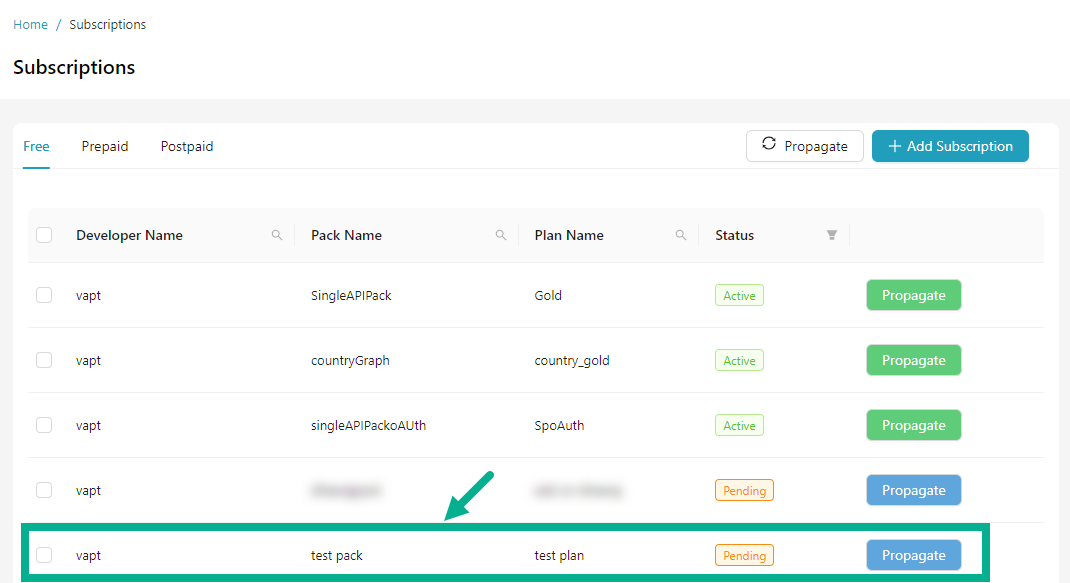
Only Active subscriptions can be propagated.
The Blue Propagate button next to a subscription shows that propagation has been pending for the subscription (Pending Status).
The green Propagate button next to a subscription shows that the subscription is up to date with the latest plan changes (Active Status).
Subscriptions in both the Pending and Active status can be propagated.
The prepaid, postpaid and free plans can be propagated using the same process, which is described below.
Propagate a specific subscription

- Click the Propagate button.
The dialog box appears as shown below.

- Click Yes.
On proceeding, the confirmation message appears as shown below.

Propagate many subscriptions at once

- Click to select the check boxes corresponding to the subscriptions you want to propagate.
The Select All checkbox option, located prior to the Developer Name heading, allows you to select all subscribers.
- Click Propagate.
The dialog box appears as shown below.
- Click Yes.
On proceeding, the confirmation message appears as shown below.
Add a Subscription
Only free subscriptions can be subscribed using the subscriptions module; payment gateway-enabled plans cannot be subscribed.
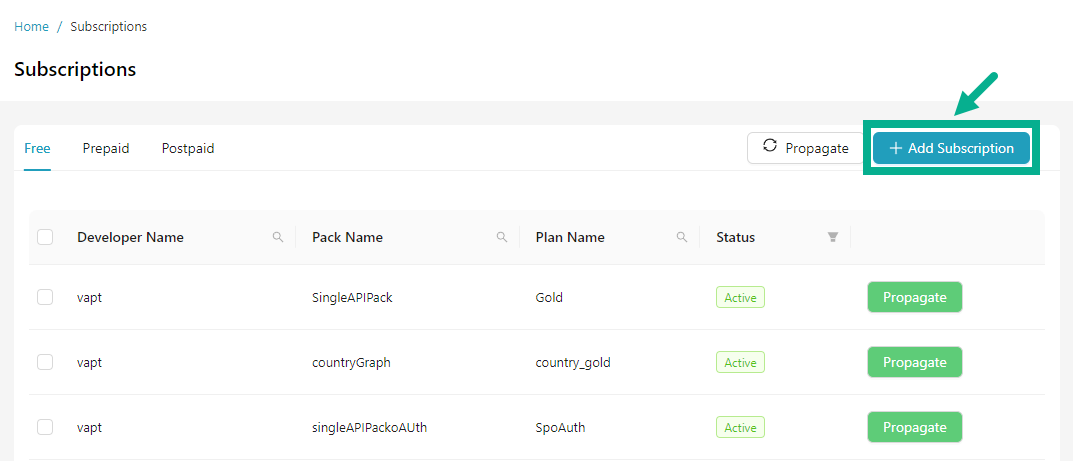
- Click Add Subscription.
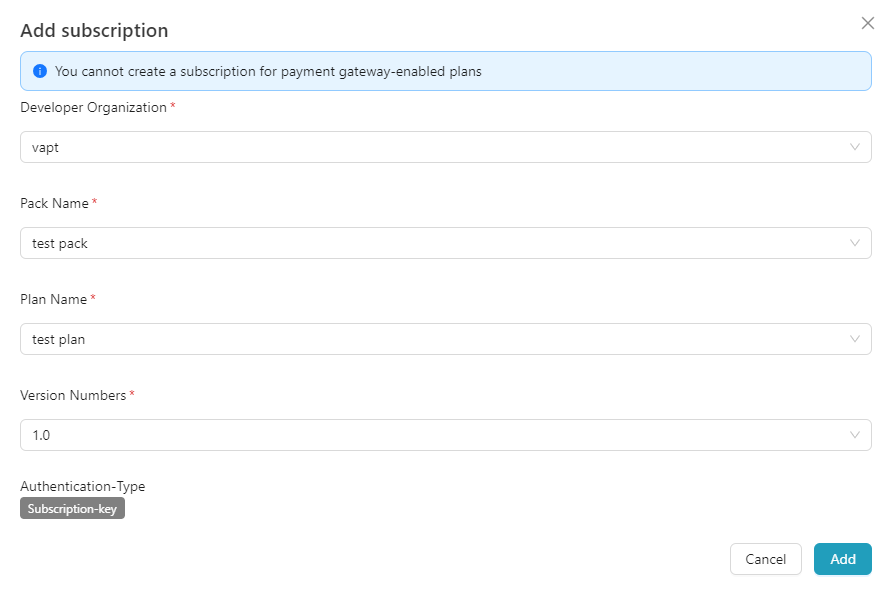
Add Subscription dialog box appears as shown below.
-
Select the Developer Organization from the drop down.
-
Select the Pack Name from the drop down.
-
Select the Plan Name from the drop down.
-
Select the Version Numbers from the drop down.
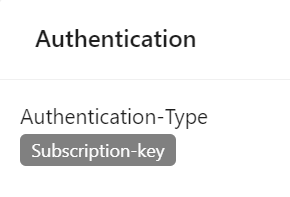
Authentication-Type is displayed based on the Usage Plan creation data while API Pack creation.
the possible Authentication Types are:
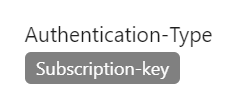
- Subscription key
- IP Whitelisting
- Header Key
- Query Parameter
a. If the Authentication Type is Subscription key, a subscription key will be generated once you add the subscription.
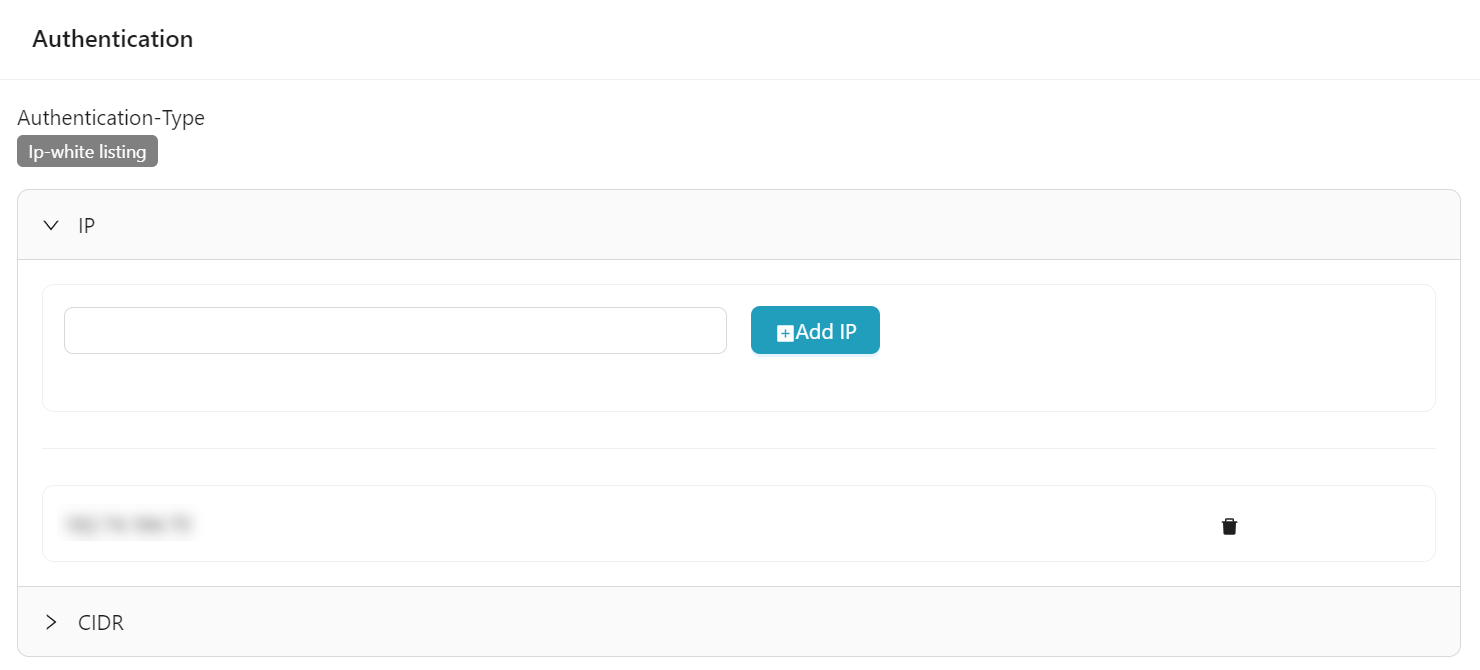
b. If the Authentication Type is IP Whitelisting, you must provide the IP address and CIDR value.
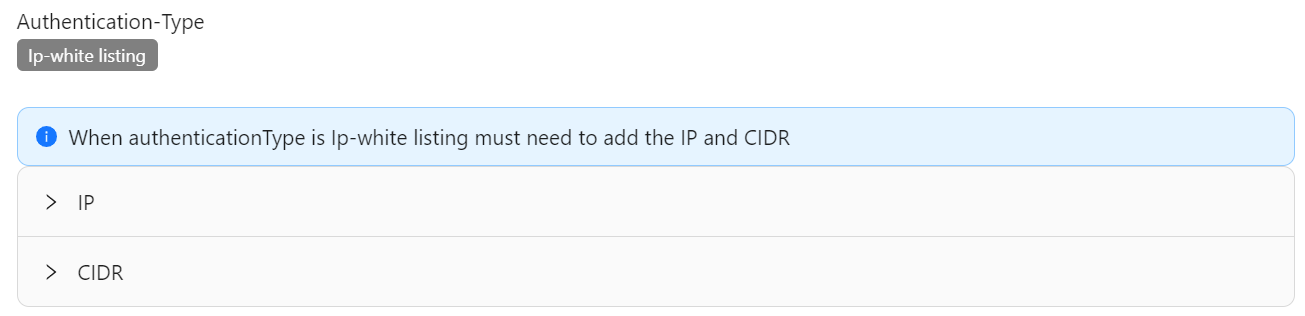
- Click the IP section, enter the valid IP address, then click Add.
- Click the CIDR section, enter the valid CIDR value, then click Add.
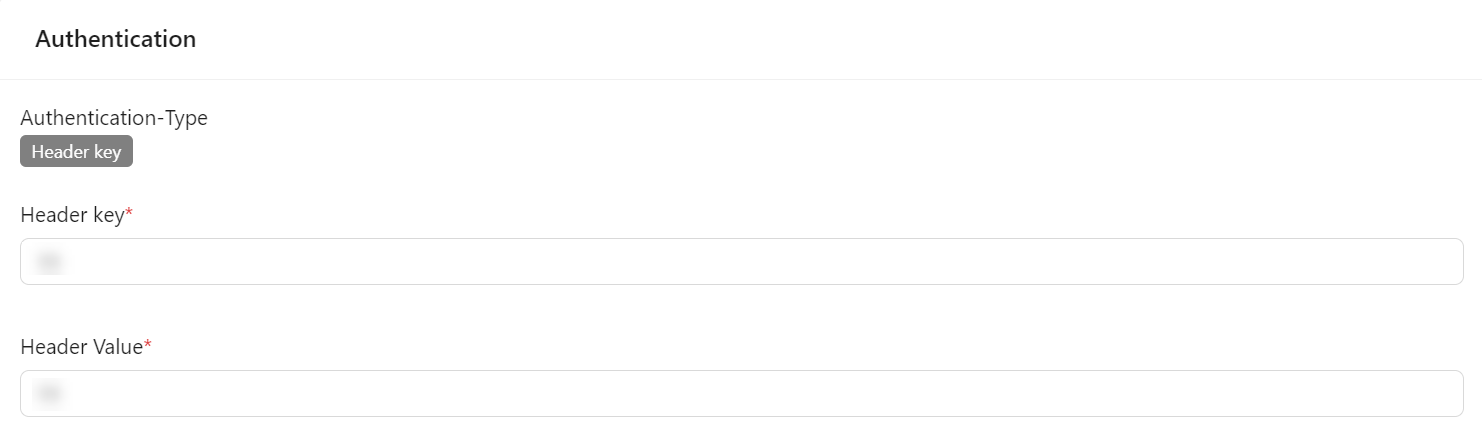
c. If the Authentication Type is Header key, you must provide the header key and the value.
The Header Key value was previously defined when the Plan Authentication option was selected during the Usage plan configuration.
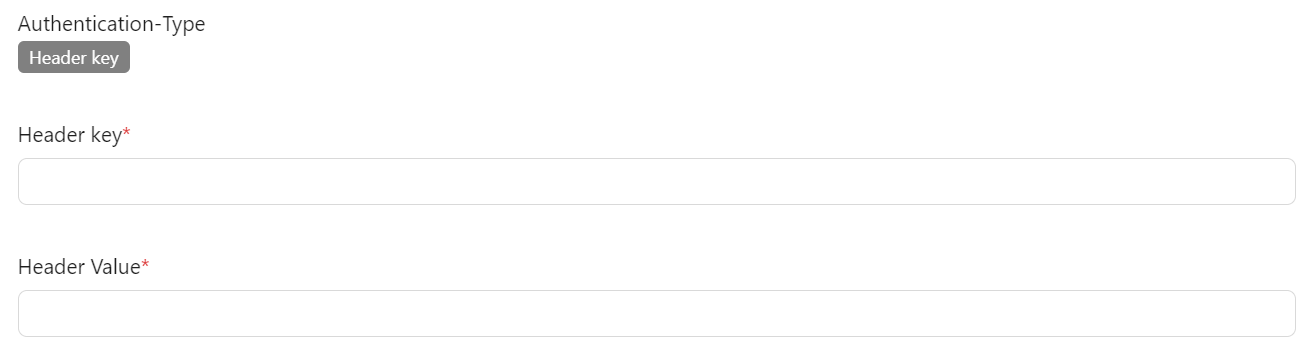
- Enter the Header Key and Header Value.
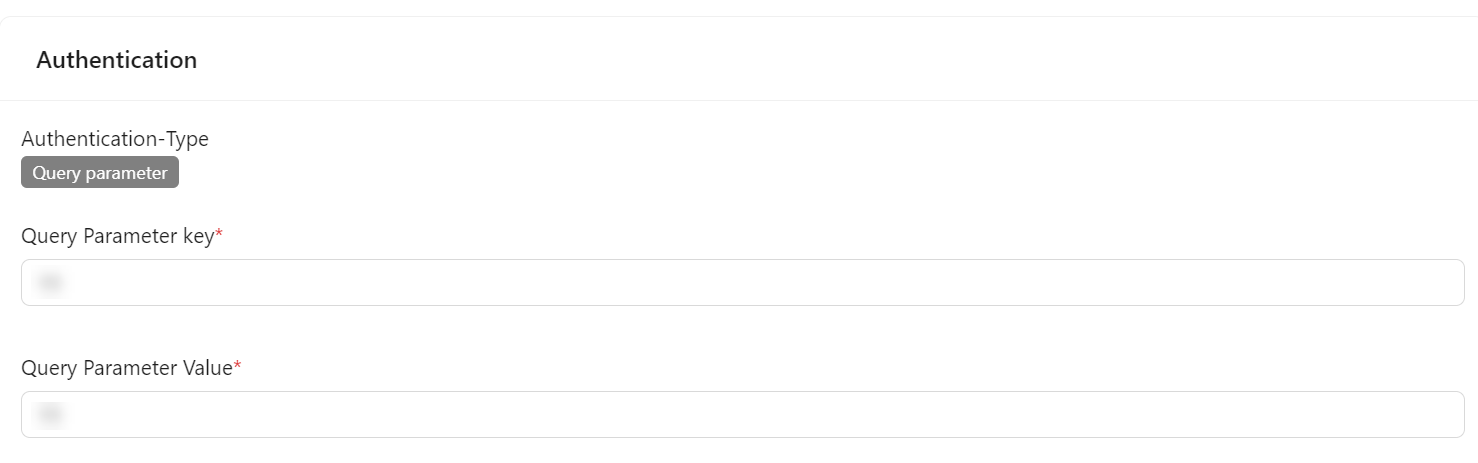
d. If Authentication Type is Query Parameter, you must provide the query parameter value.
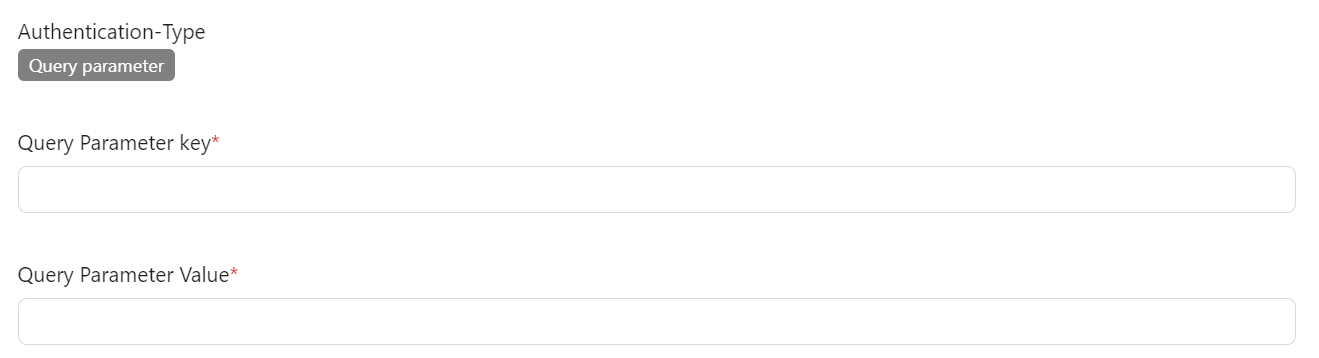
The Query Parameter Key value was previously defined when the Plan Authentication option was selected during the Usage plan configuration.
- Click Add.
On adding, the plan is subscribed and displayed as shown below.
Configure a Subscription
Subscriptions can be configured efficiently in the THAPIM for effective access and consumption.
Configure Settings
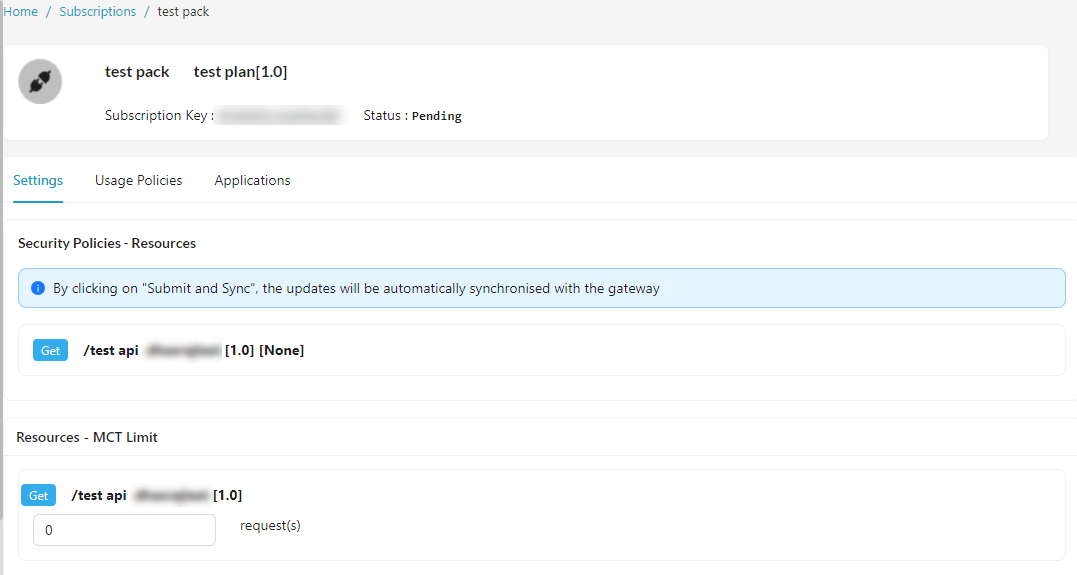
- Click to open the subscription.
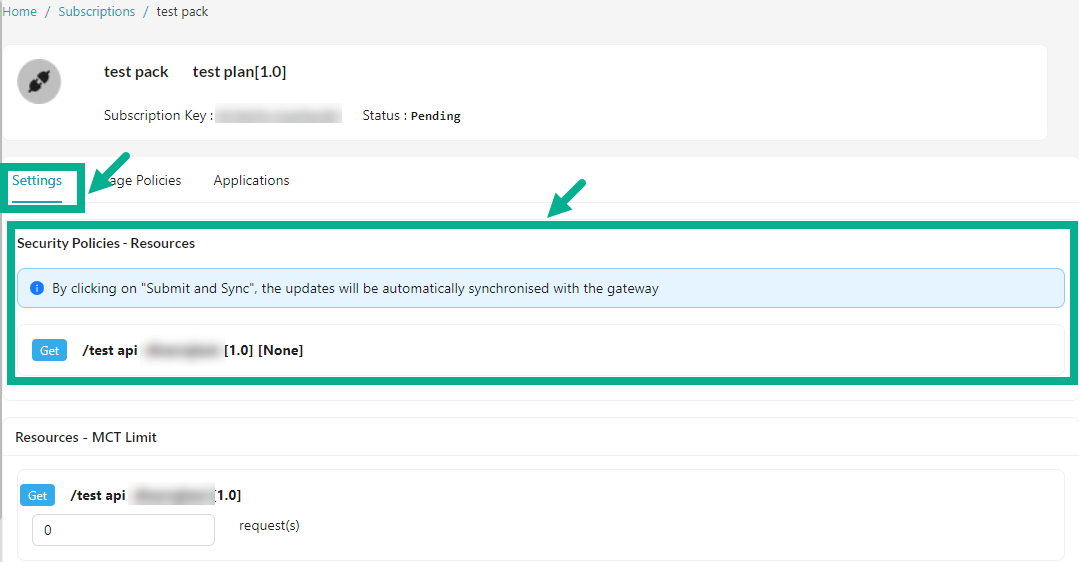
The screen appears as shown below.
-
Ensure that the Settings tab is selected.
-
Configure the Security policies if applicable.
If you have selected Basic Authentication as the Plan's Security Policy (REST and GraphQL APIs), the User name and Password fields are displayed in the Security Policies - Resources section.
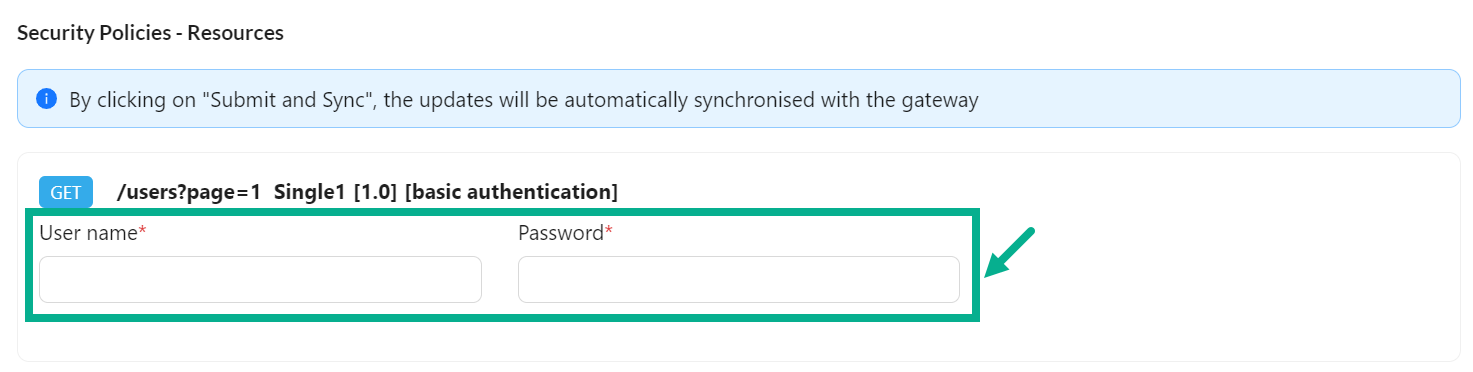
- Enter the User name and Password.
If you have selected Basic Authentication as the Plan's Security Policy (SOAP APIs), the User name and Password fields are displayed in the Security Policies - Operations section.
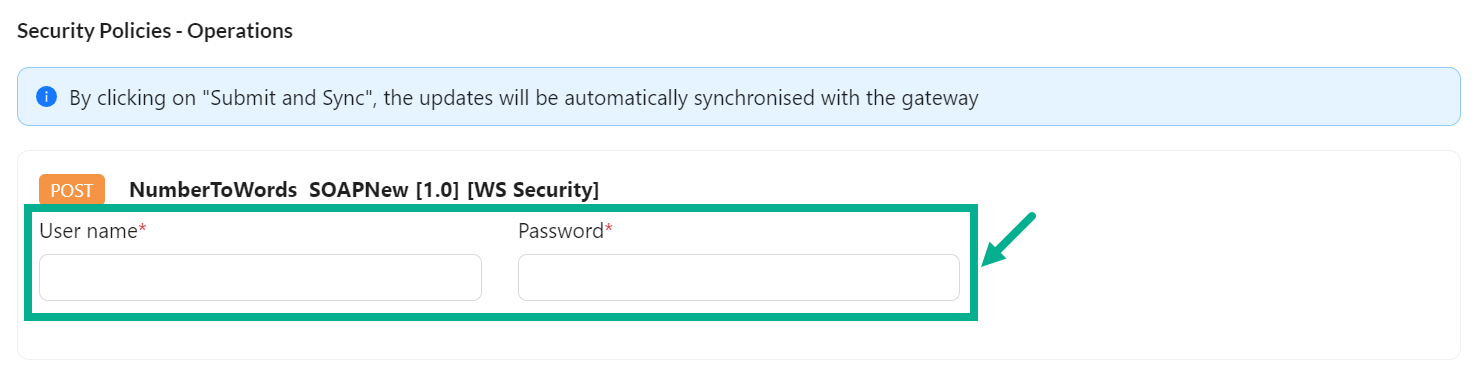
- Enter the User name and Password.

- Enter Resources - MCT Limit value as per the requirement.

- Click Manage button to Black List/White List an IP.
The Manage IP's dialog box appears as shown below.

To add an IP to Black List:
Blacklist IPs prevent the IP from accessing the resources/operations created under the subscription.
- Ensure Black List is selected from the drop down.
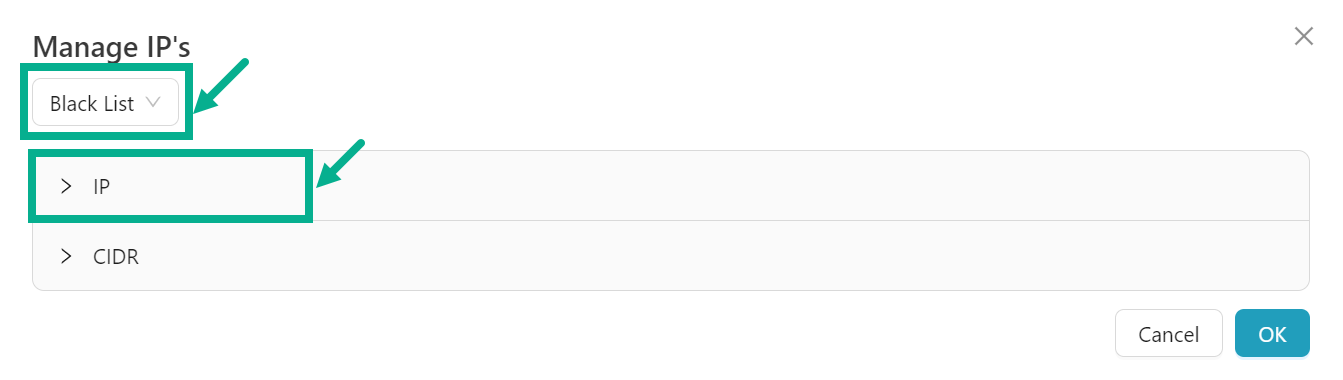
- Click the IP section.
The screen appears as shown below.
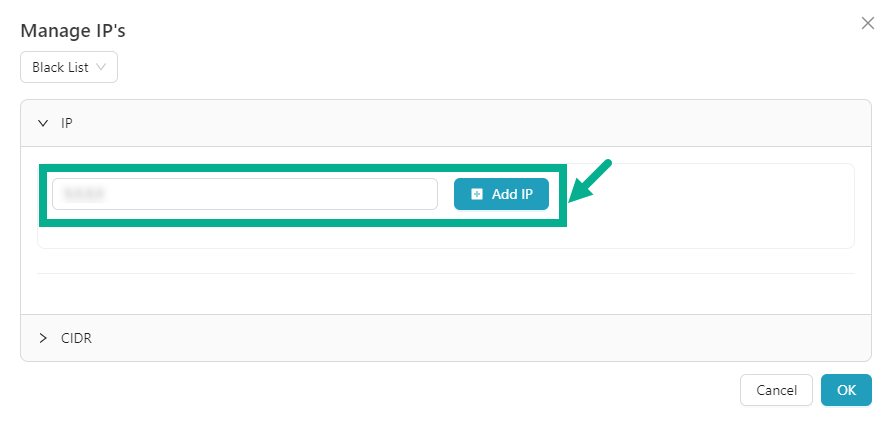
- Enter the valid IP and Click Add IP.
On adding, the IP is added to the Black List as shown below.
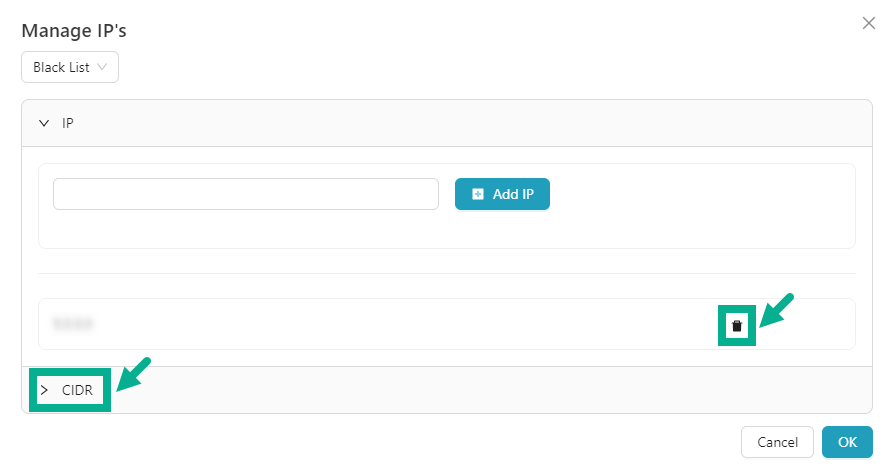
-
Click the Delete icon to delete the added IP if necessary.
-
Click the CIDR section.
The screen appears as shown below.
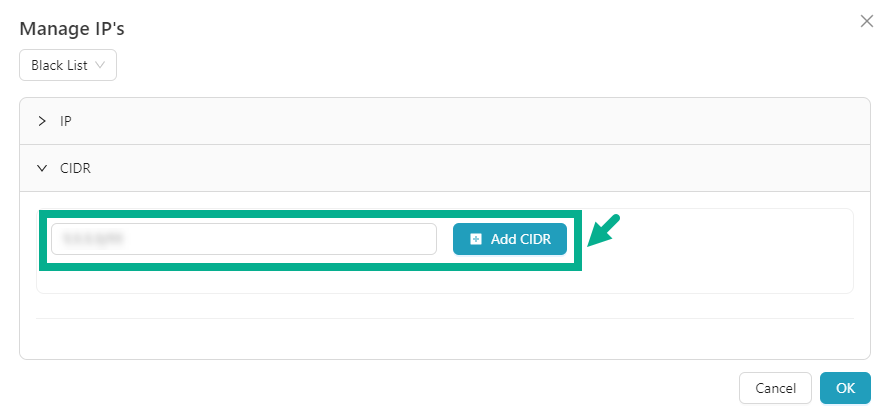
- Enter the valid CIDR and Click Add CIDR.
On adding, the CIDR is added to the Black List as shown below.
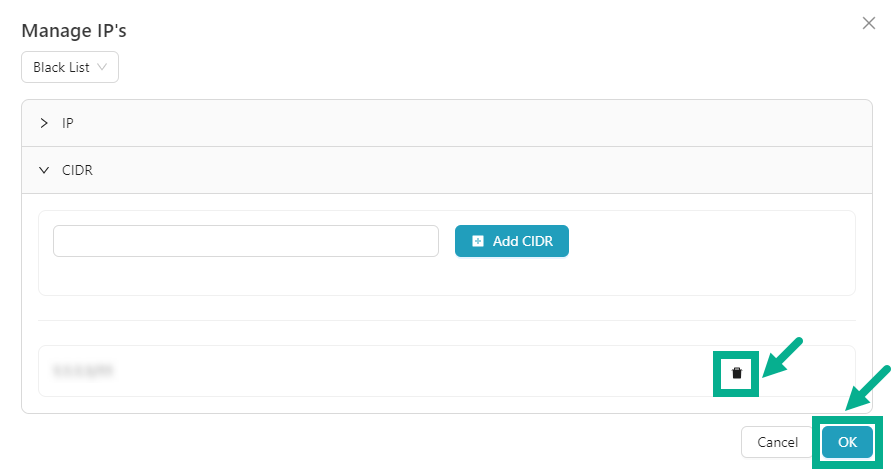
-
Click the Delete icon to delete the added CIDR if necessary.
-
After adding IP and CIDR to Black List, Click OK.
To add an IP to White List:
Whitelisting IPs enables access to resources and operations within trusted IP addresses or ranges, ensuring users can securely access our subscriptions.
- Select White List from the drop down.
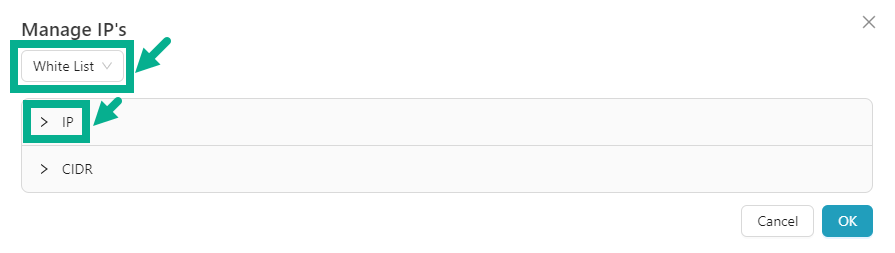
- Click the IP section.
The screen appears as shown below.
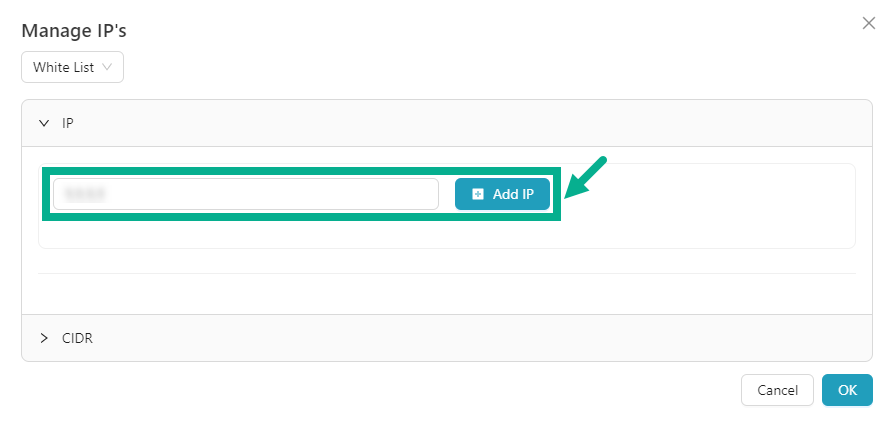
- Enter the valid IP and Click Add IP.
On adding, the IP is added to the White List as shown below.

-
Click the Delete icon to delete the added IP if necessary.
-
Click the CIDR section.
The screen appears as shown below.
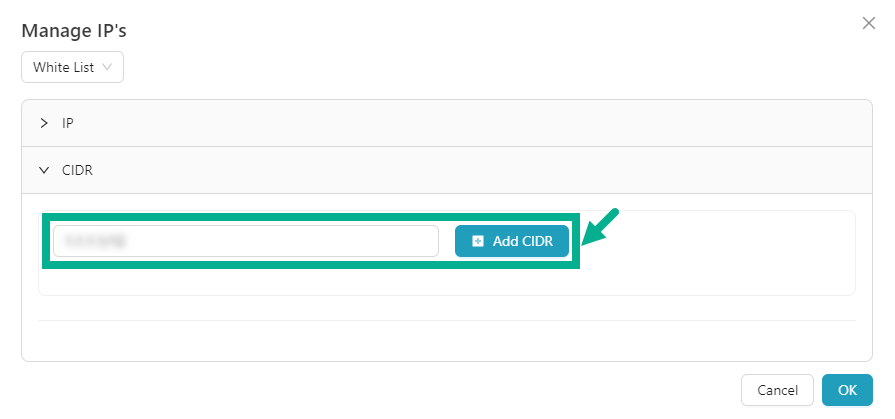
- Enter the valid CIDR and Click Add CIDR.
On adding, the CIDR is added to the Black List as shown below.
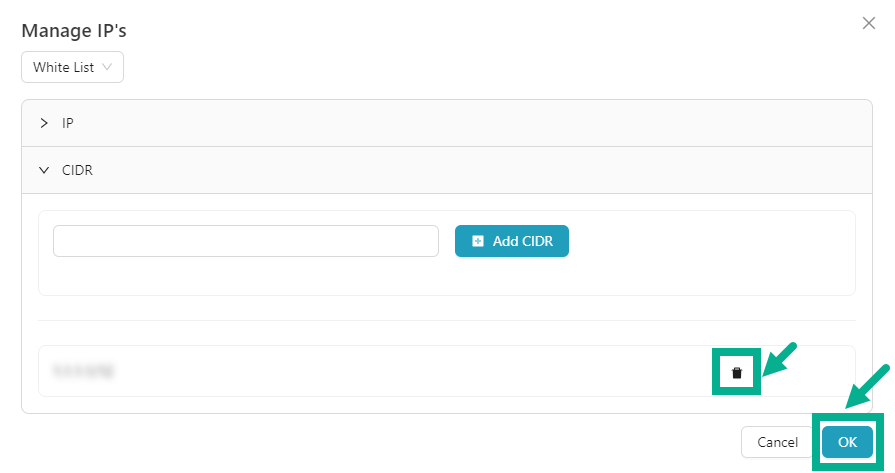
-
Click the Delete icon to delete the added CIDR if necessary.
-
After adding IP and CIDR to White List, Click OK.

- Select the Gateway you want to map from the drop down.
It is mandatory to map a Gateway to the Subscription for it to propagate.

- Select the Expiration Date using the date picker.
- Configure the Fault Configuration as per the requirement.
To Configure REST Fault Configuration:
a. Click to extend Content Type.
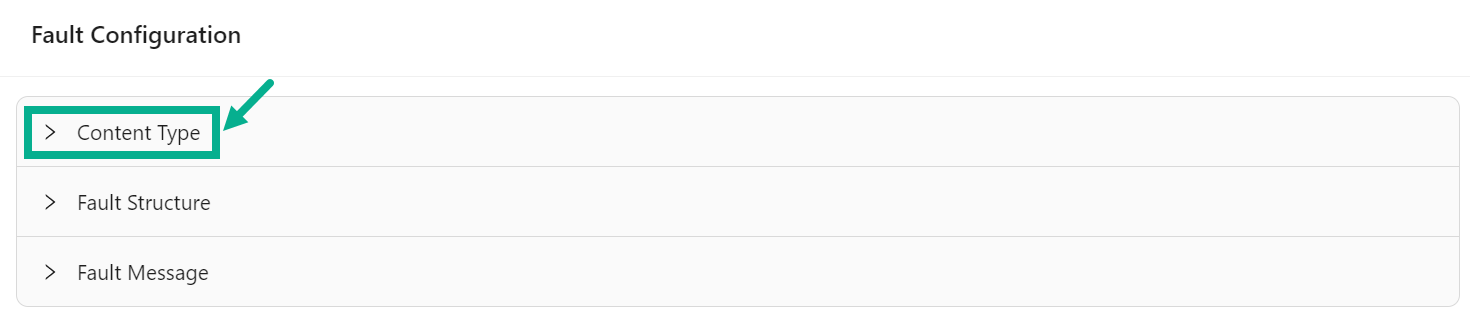
The screen appears as shown below.

b. Enable the Overwrite toggle to enable the Plan Level, All Resources and Resource Level if necessary.
On enabling, the Content Type options for Plan/All Resources/Resource levels will be enabled.
c. Click the appropriate Content Type (JSON/XML/PlainText) to select to be specified at Plan/All Resources/Resource levels.
d. Click Save to save the changes.
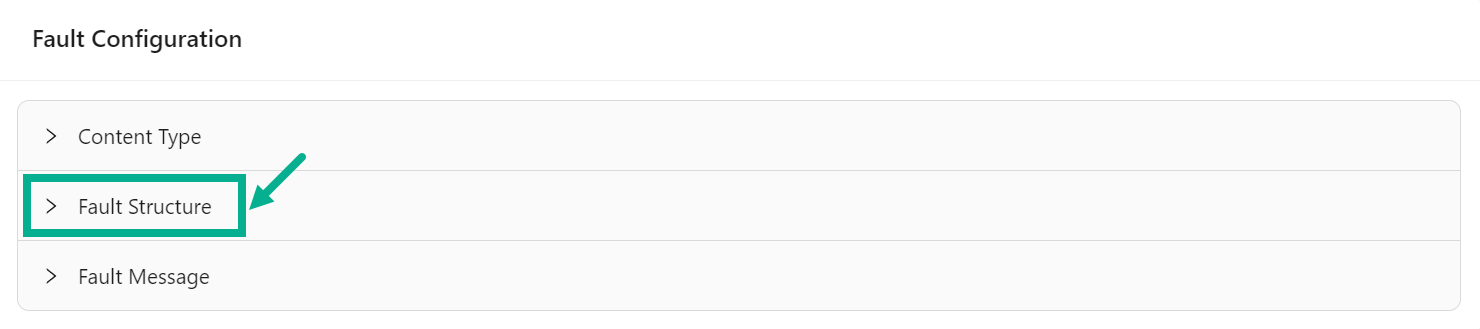
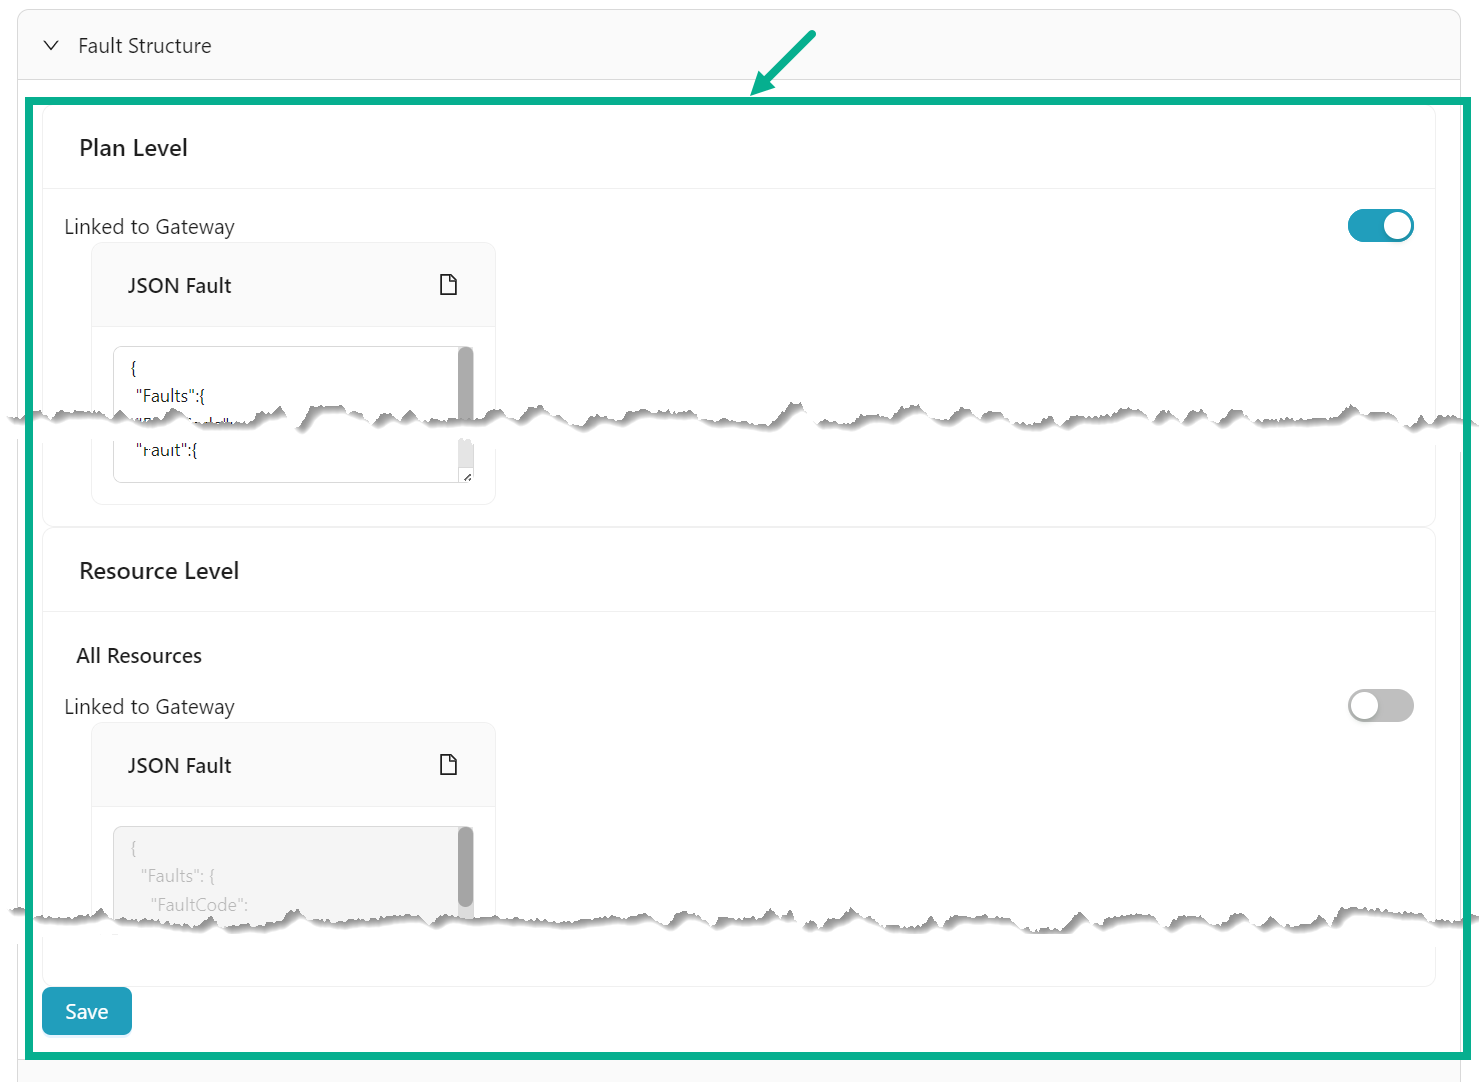
e. Click to extend the Fault Structure.
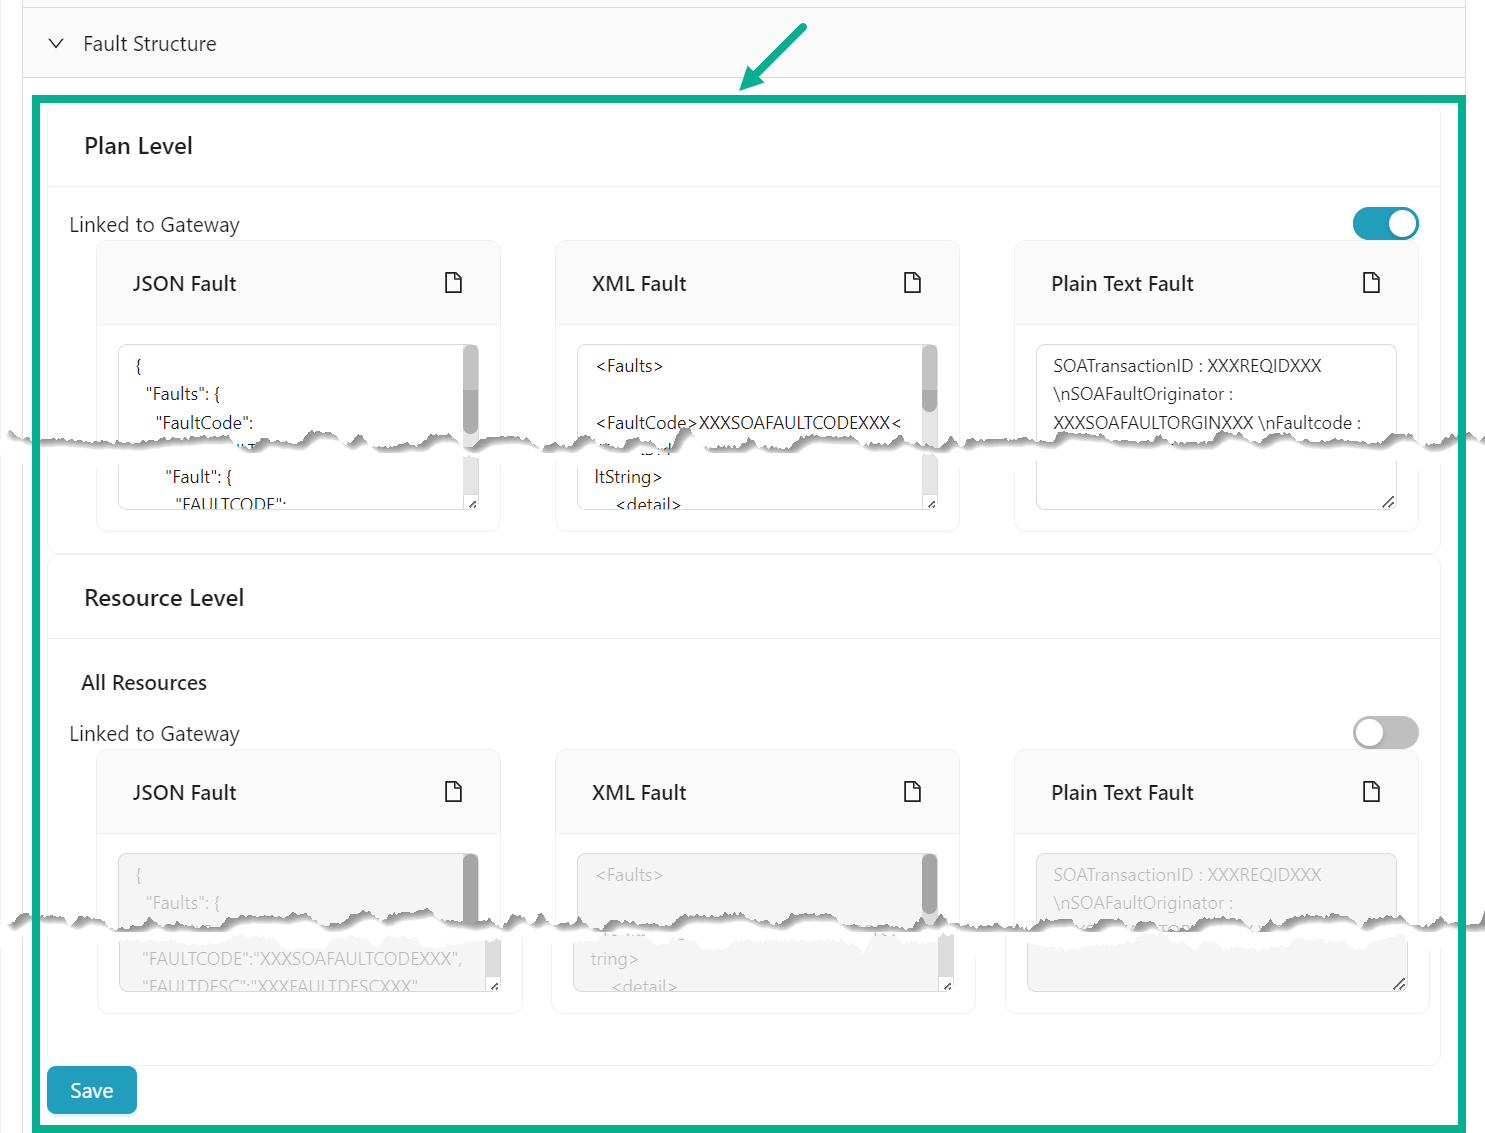
f. Enable the Overwrite toggle to enable the Fault Structure for Plan Level and Resource Levels if necessary.
On enabling, the Fault Structure for Plan/All Resource levels will be enabled.
g. Update the JSON Fault, XML Fault and Plain Text Fault at Plan/All Resource Levels.
h. Click Save to save the changes.
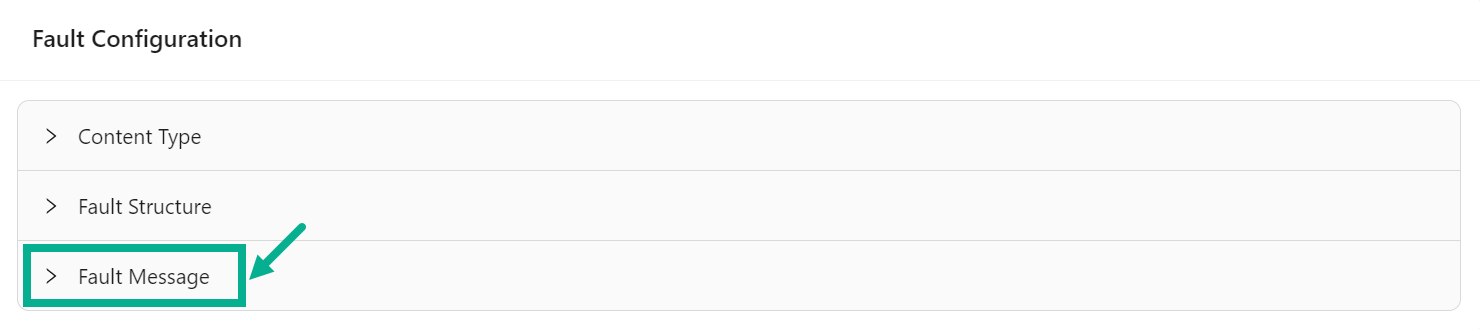
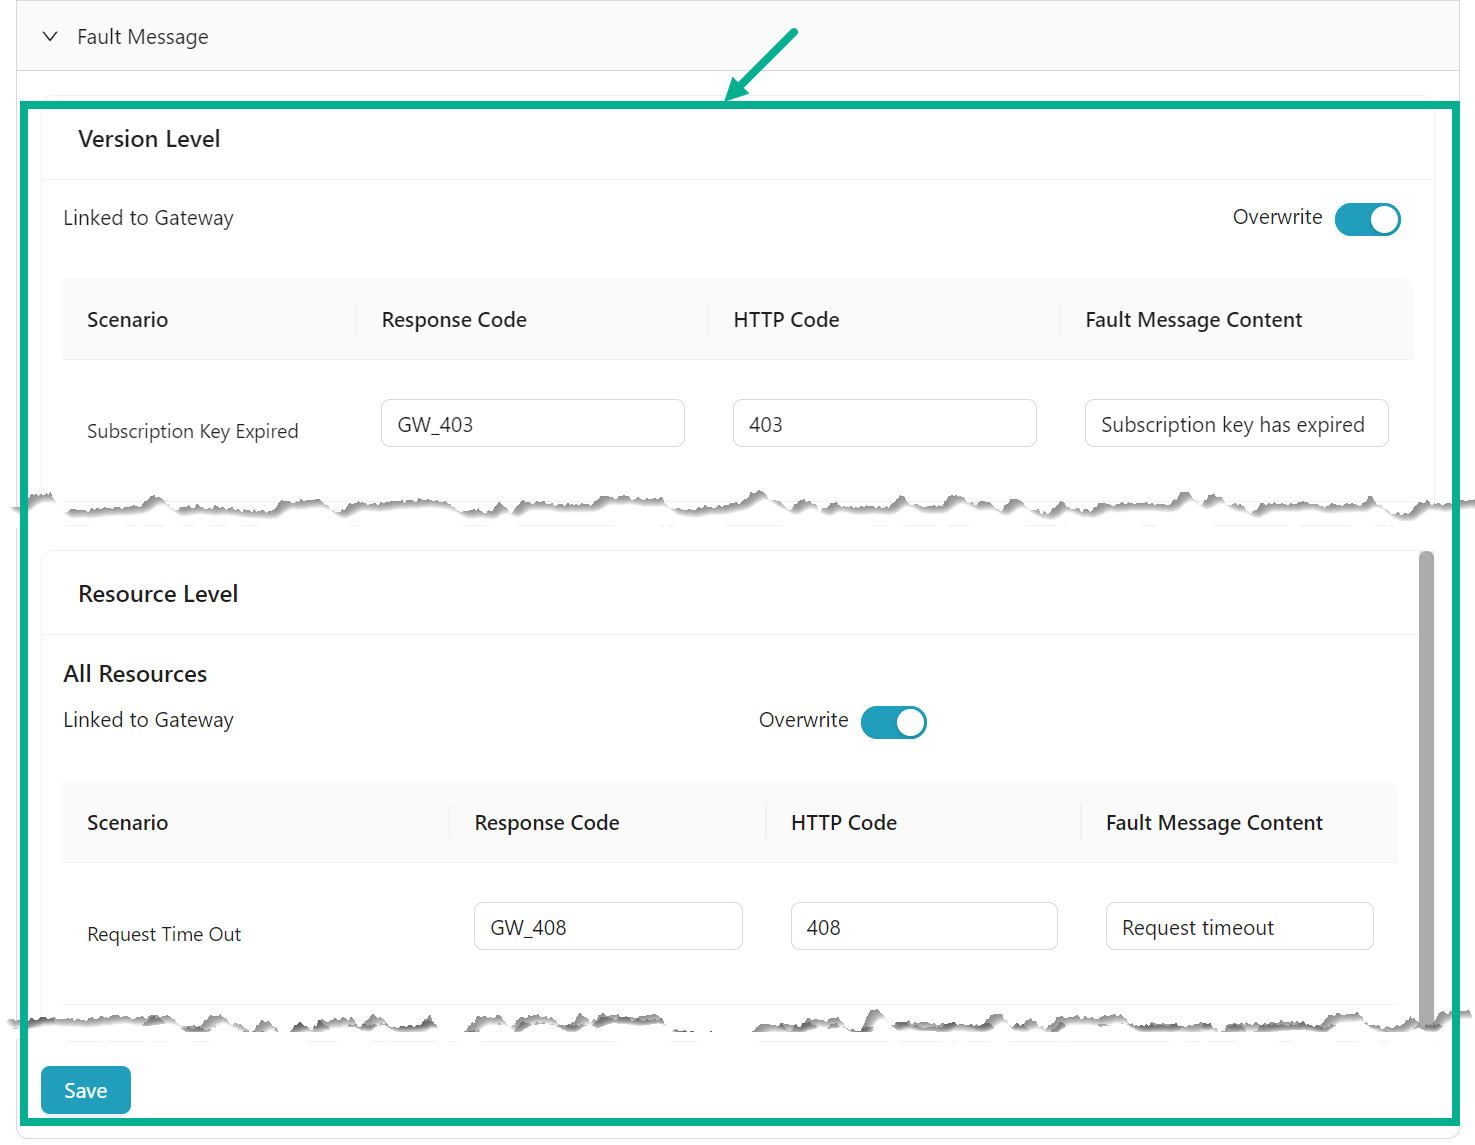
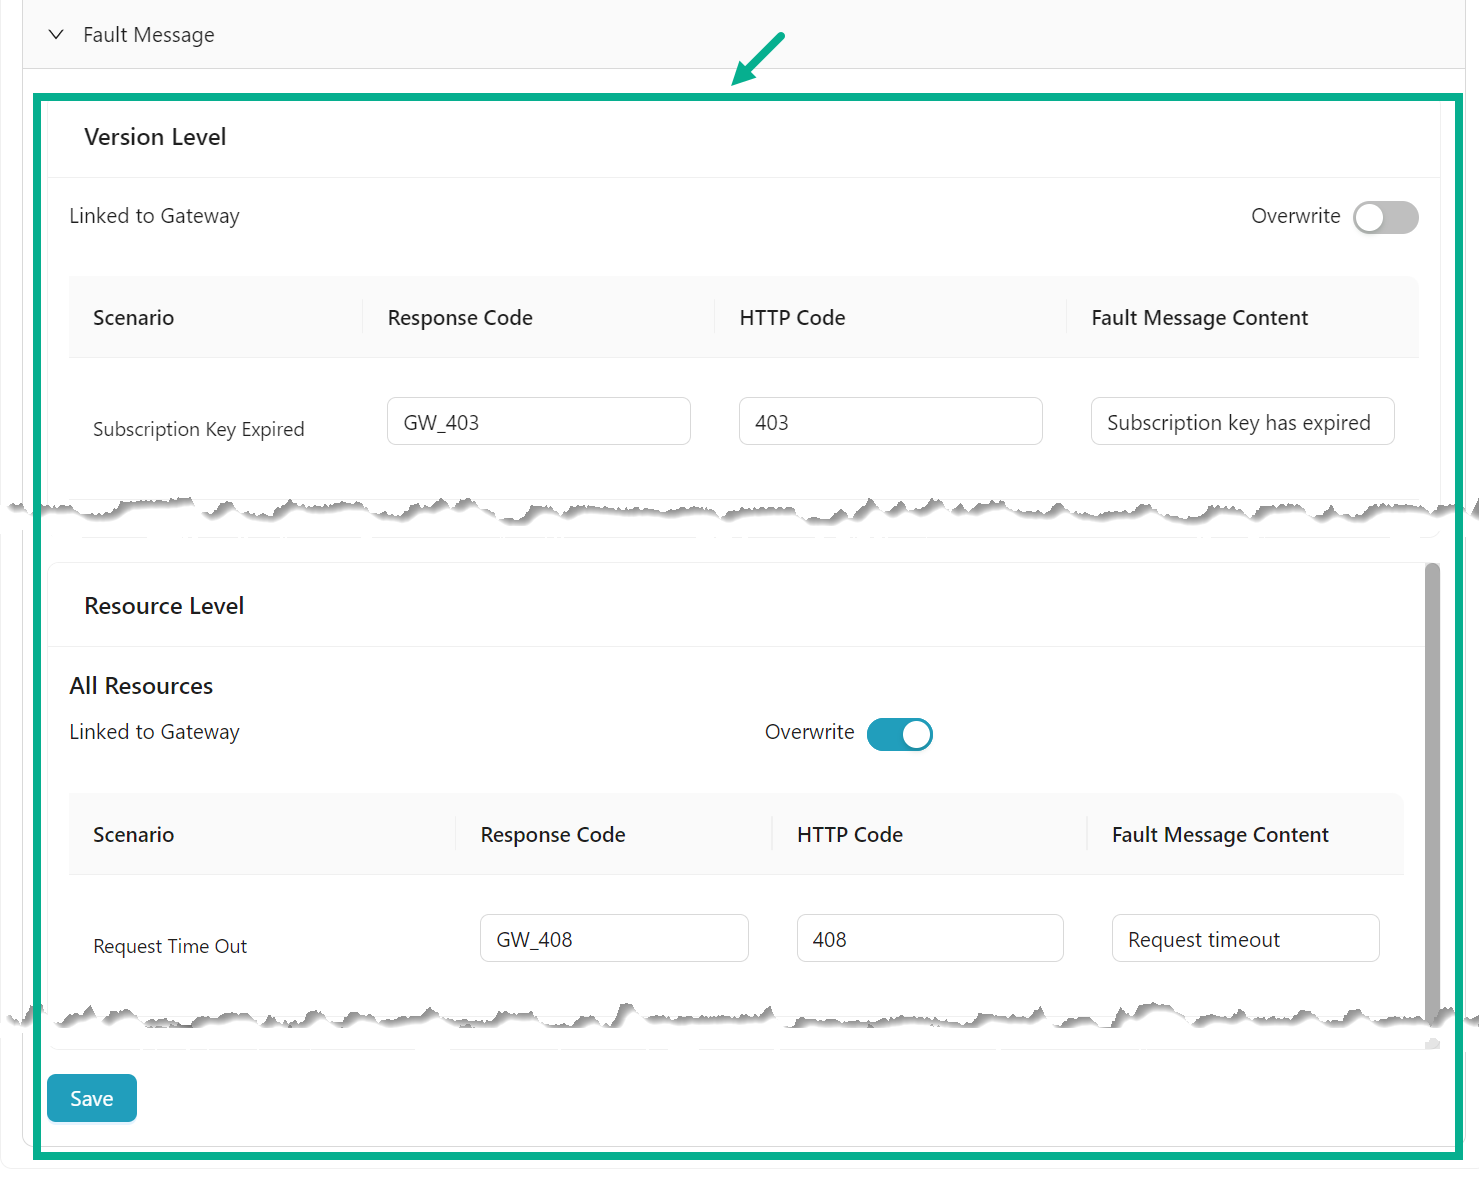
i. Click to extend the Fault Message.
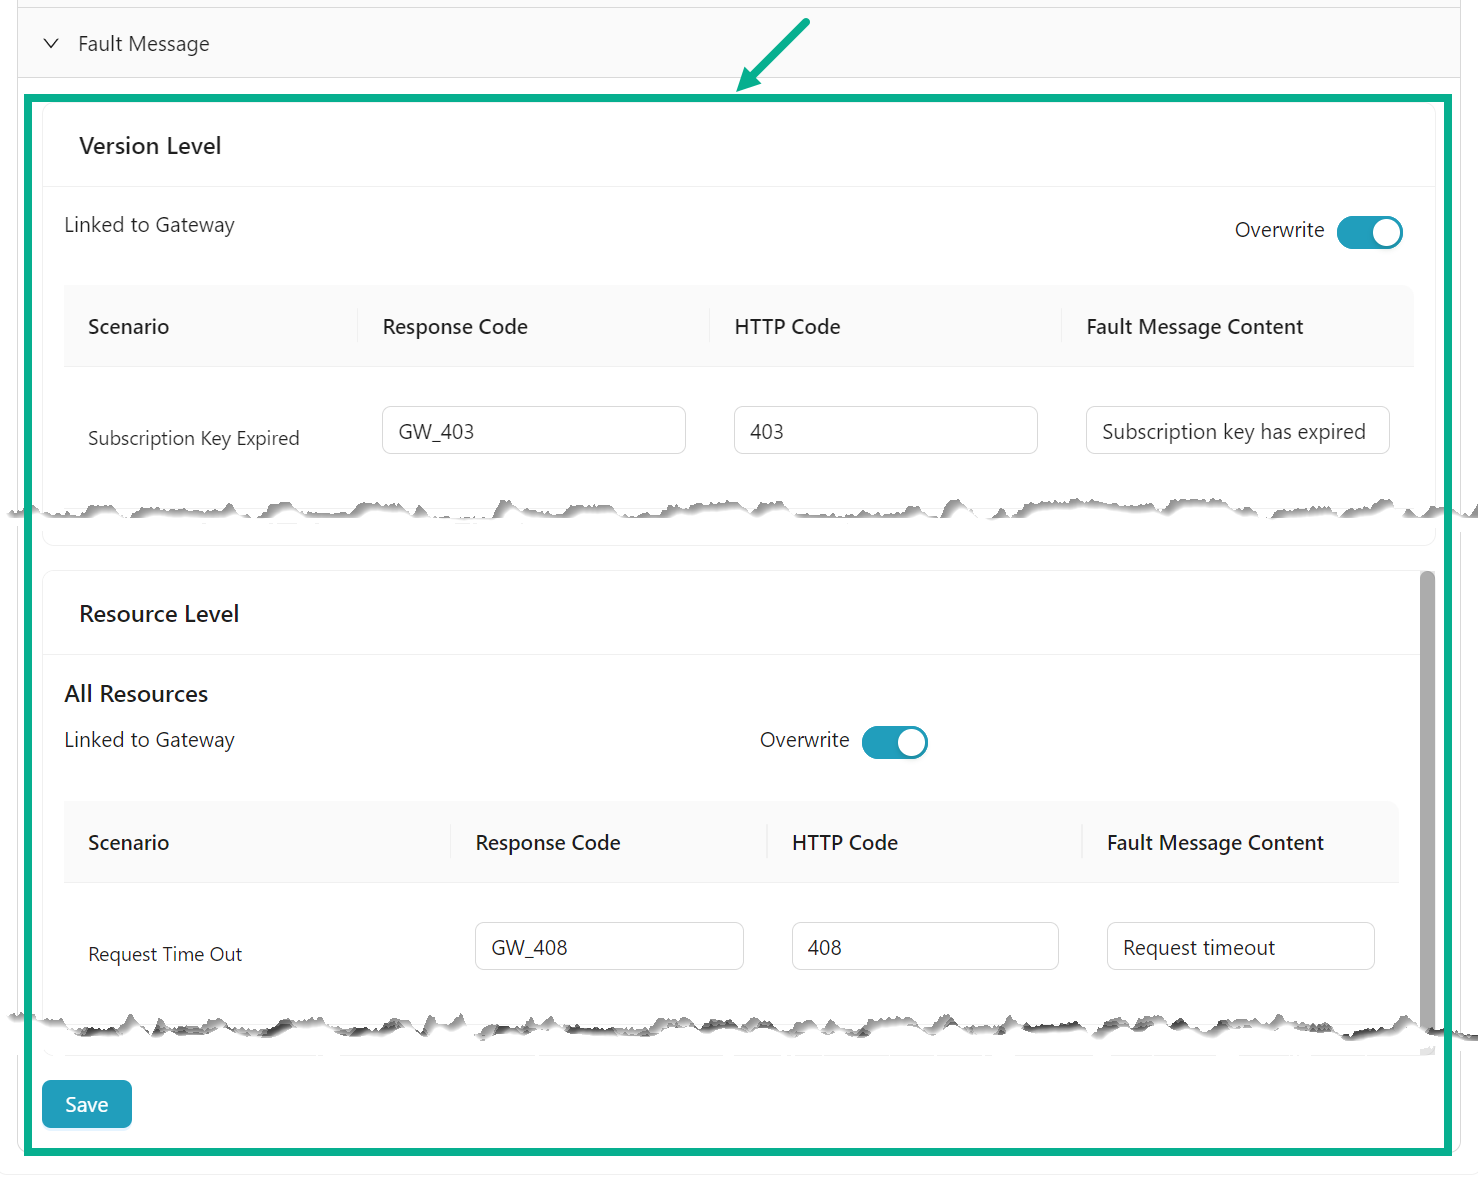
j. Enable the Overwrite toggle to enable the Fault Scenario for Version Level and Resource Levels if necessary.
On enabling, the Fault Scenario for Version/Resource levels will be enabled.
k. Update the Response Code, HTTP Code and Fault Message Content for the respected scenario at Version/Resource Levels.
l. Click Save to save the changes.
To Configure SOAP Fault Configuration:

a. Click to extend the Fault Structure.
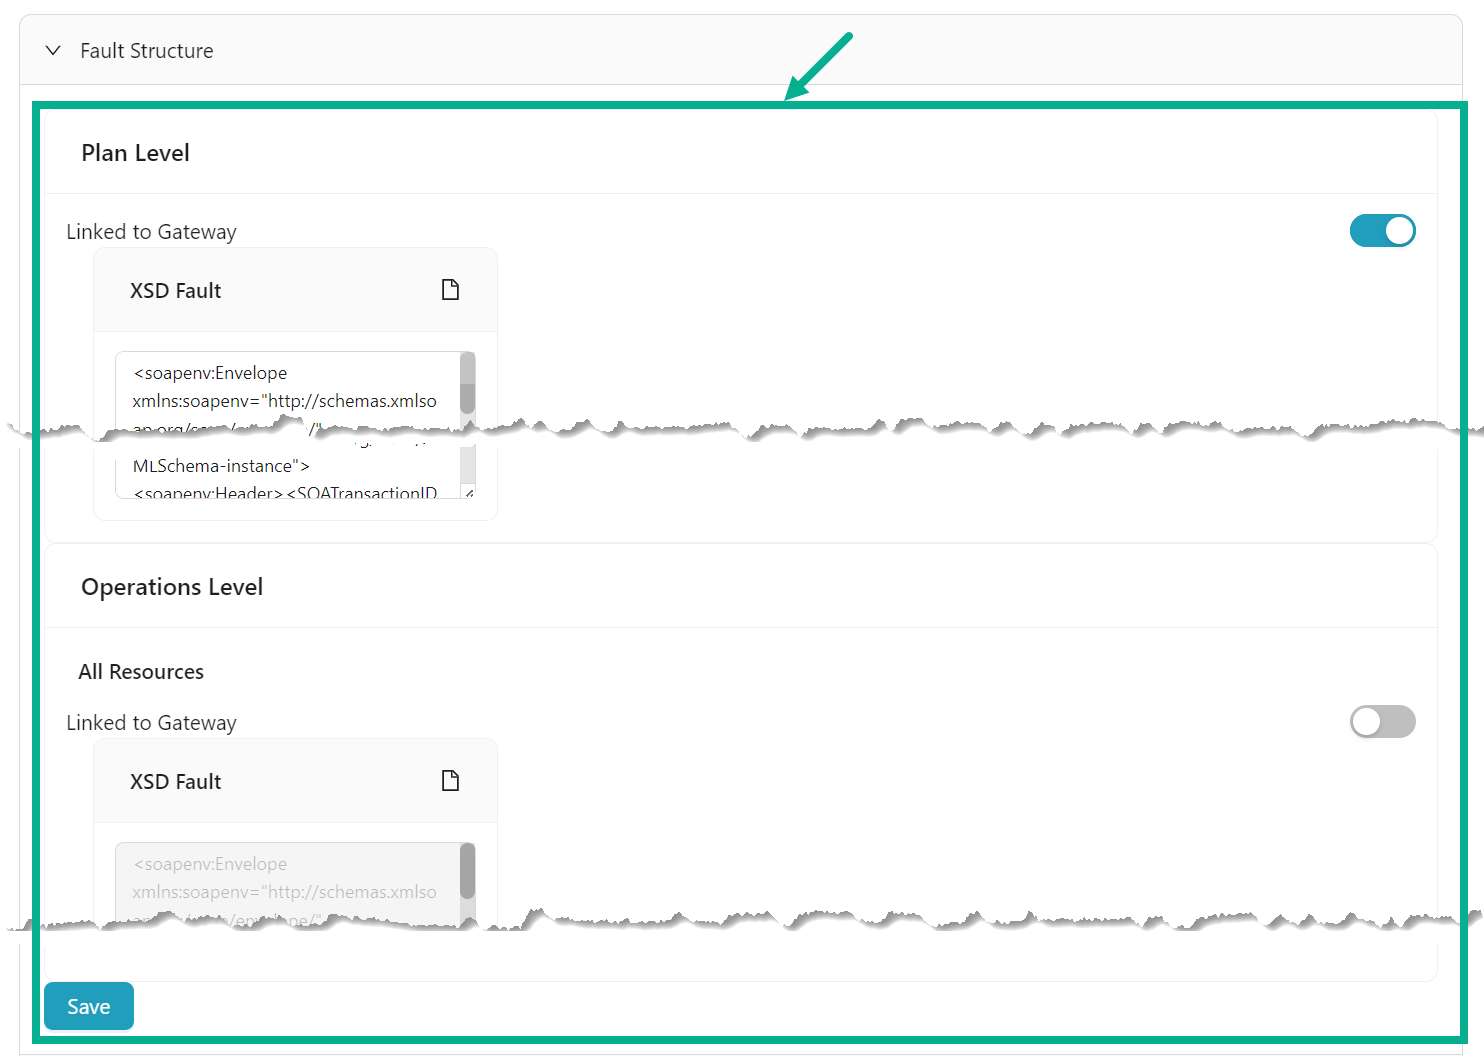
b. Enable the Overwrite toggle to enable the Fault Structure for Plan Level and Fault Structure for Operation Level if necessary.
On enabling, the Fault Structure options for Plan/Operation levels will be enabled.
c. Update the XSD Fault at Plan/Operation Levels.
d. Click Save to save the changes.

e. Click to extend the Fault Message.
f. Enable the Overwrite toggle to enable the Fault Scenario for Version Level and Fault Scenario for Operations Levels if necessary.
On enabling, the Fault Scenario options for Version/Operation levels will be enabled.
g. Update the Response Code, HTTP Code and Fault Message Content for the respected scenario at Version/Operation Levels.
h. Click Save to save the changes.
To Configure GraphQL Fault Configuration:
a. Click to extend the Fault Structure.
b. Enable the Overwrite toggle to enable the Fault Structure for Plan Level and Fault Structure for Resource Level if necessary.
On enabling, the Fault Structure options for Plan/Resource levels will be enabled.
c. Update the JSON Fault at Plan/Resource Levels.
d. Click Save to save the changes.
e. Click to extend the Fault Message.
f. Enable the Overwrite toggle to enable the Fault Scenario for Version Level and Fault Scenario for Resource Levels if necessary.
On enabling, the Fault Scenario options for Version/Operation levels will be enabled.
g. Update the Response Code, HTTP Code and Fault Message Content for the respected scenario at Version/Resource Levels.
h. Click Save to save the changes.
- Configure/verify Authentication.
- If Authentication Type is Subscription key - A subscription key would have been generated once you added the subscription on the Add Subscription page. This key is created is auto-generated and not editable.
- If the Authentication Type is IP White listing, you may update the IP address and CIDR range on the IP and CIDR sections, respectively.
- If the Authentication Type is the Header key, you can modify the Header key and Header value.
- If the Authentication Type is Query Parameter, you can modify the Query Parameter key and Query Parameter Value.
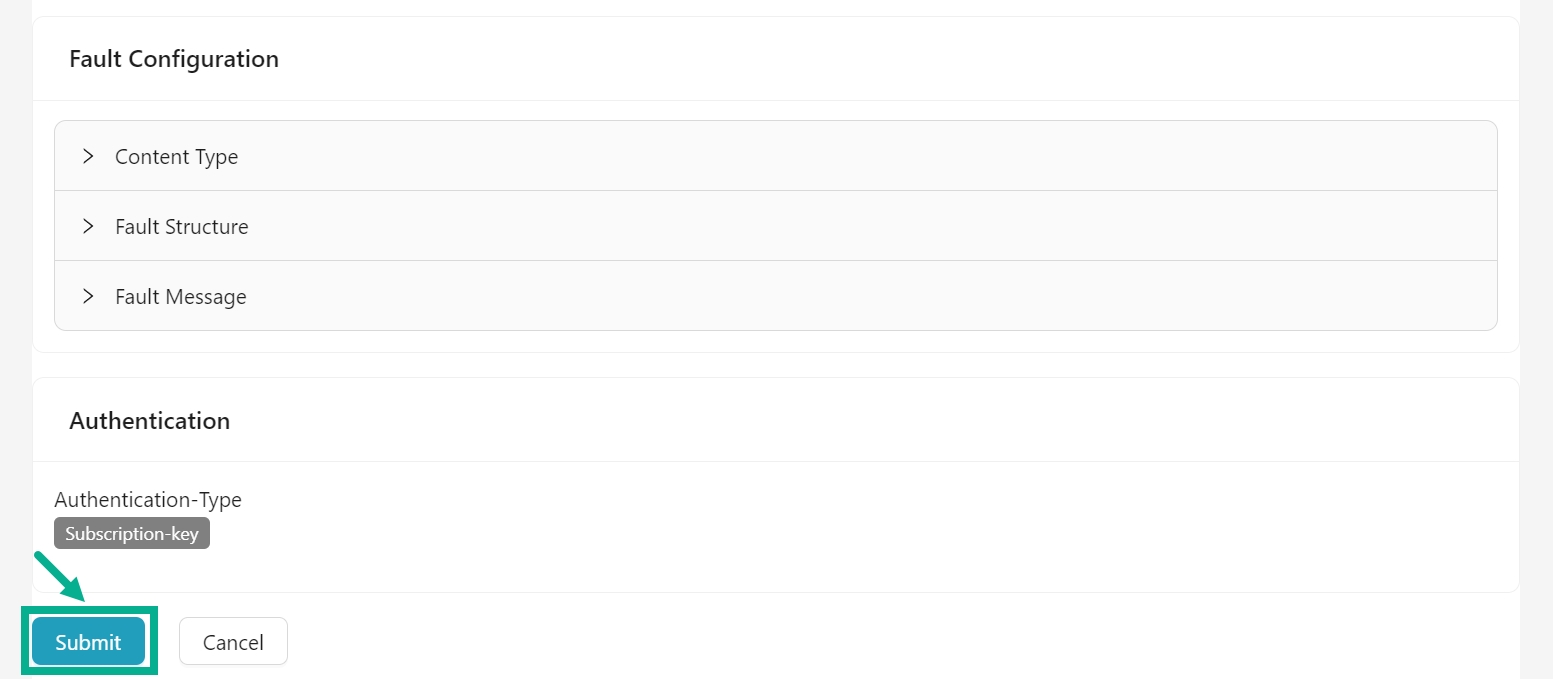
- After configuring settings, Click Submit.
The dialog box appears as shown below.

- Click Yes.
On proceeding, the confirmation message appears as shown below.

Configure Usage Policy
Usage Policies can be configured at both all and individual resource levels.

-
Click to open the subscription.
-
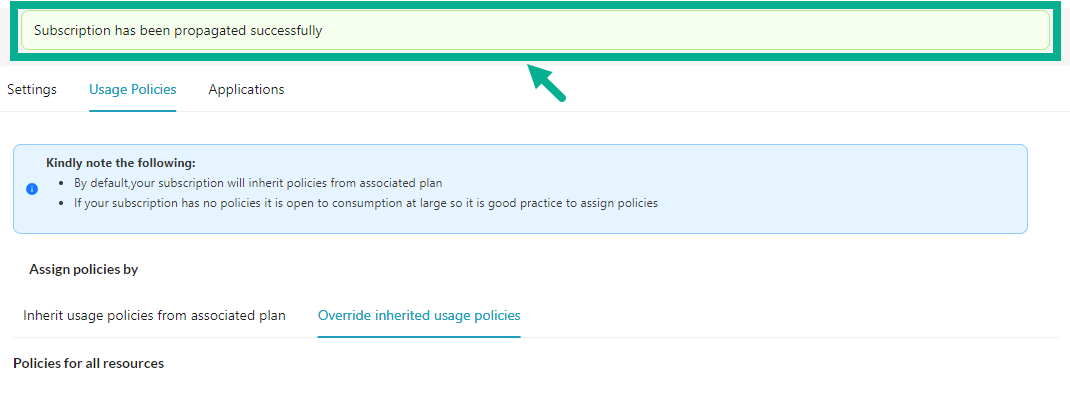
Click Usage Policies tab.

- The Inherit usage policies from associated plan section displays the usage policies associated to all and individual resource levels.
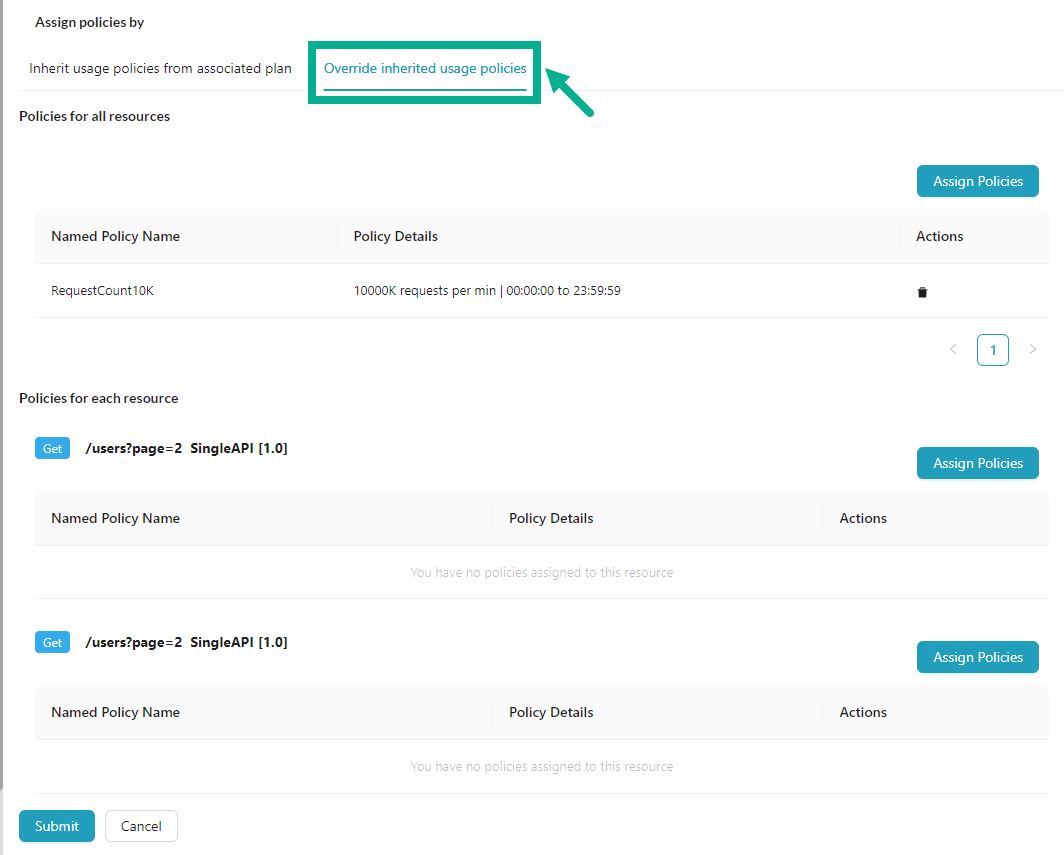
- The Override inherited usage policies section allows you to override or update subscription policies at all and individual resource levels.
To override Usage Policies attached for all resources:
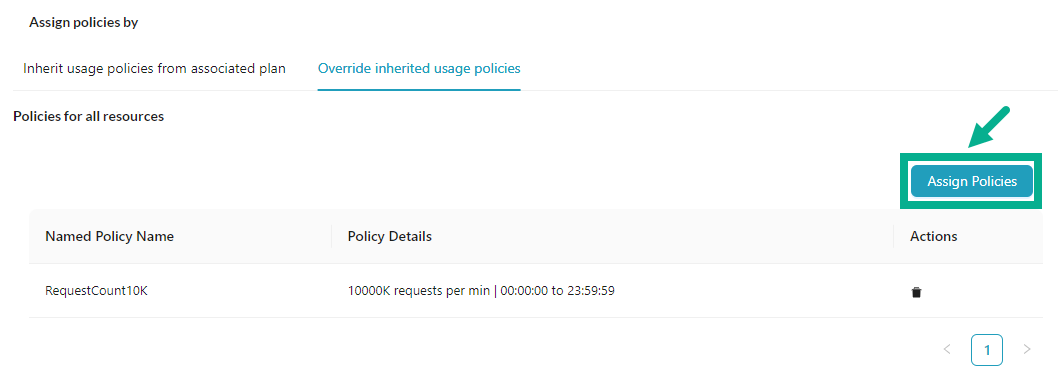
a. Under the Policies for all resources section, Click Assign Policies.
The Plan Level - Select Existing Usage Policies dialog box appears as shown below.
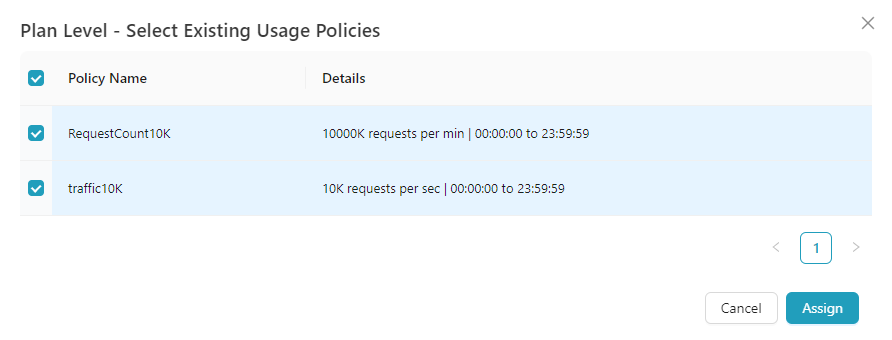
b. Select the Usage Policy by clicking the corresponding checkboxes.
c. Click Assign.
The appropriate usage policy has been assigned to all resource section, as shown below.
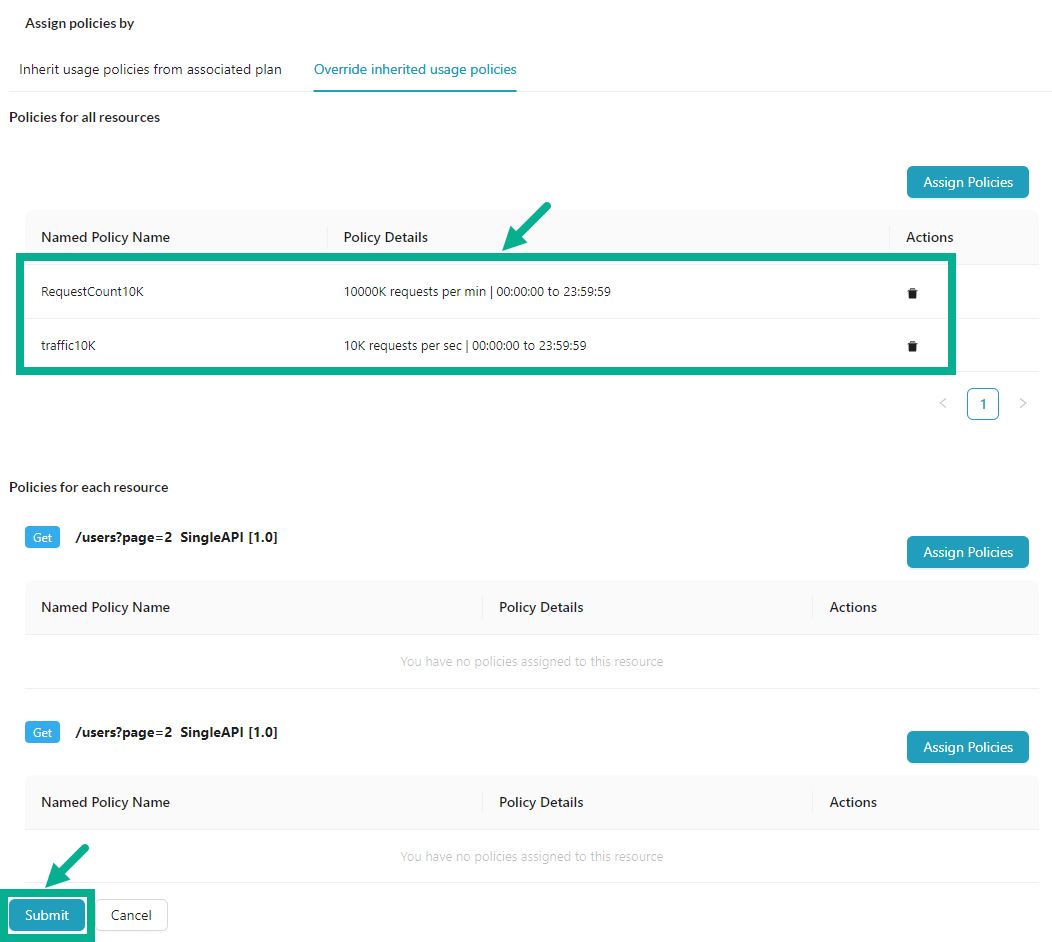
Click the Delete icon to delete the added usage policy if necessary.
d. Click Submit.
The dialog box appears as shown below.

e. Click Yes to Propagate, else click No.
On clicking yes, the confirmation message appears as shown below.
To override Usage Policies attached for each resources:

a. Under the Policies for each resource section, Click Assign Policies.
The Resource Level - Select Existing Usage Policies dialog box appears as shown below.
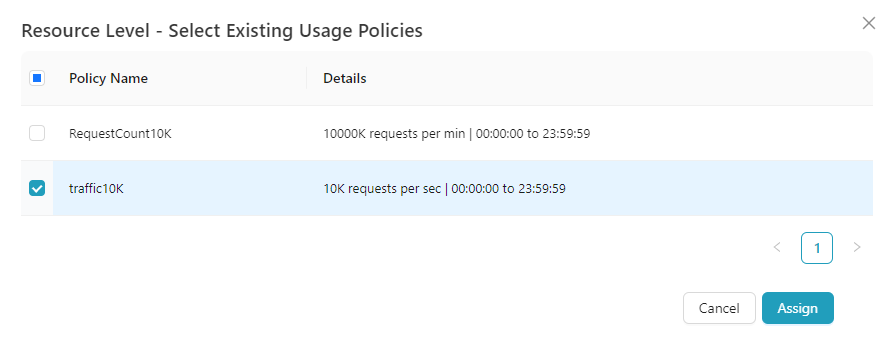
b. Select the Usage Policy by clicking the corresponding checkboxes.
c. Click Assign.
The appropriate usage policy has been assigned to each resource section, as shown below.
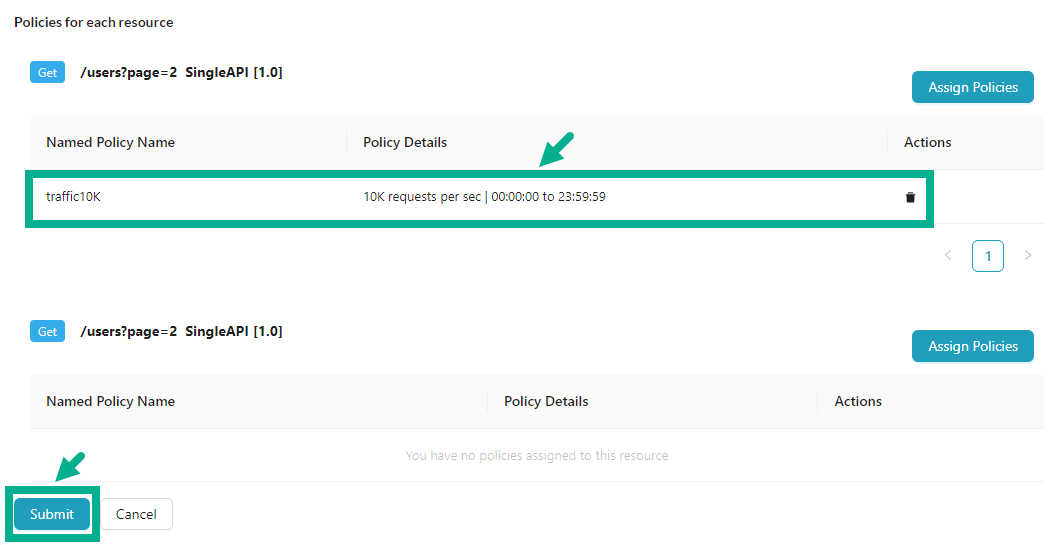
Click the Delete icon to delete the added usage policy if necessary.
d. Click Submit.
The dialog box appears as shown below.
e. Click Yes to Propagate, else click No.
On clicking yes, the confirmation message appears as shown below.
View Applications details
-
Click to open the subscription.
-
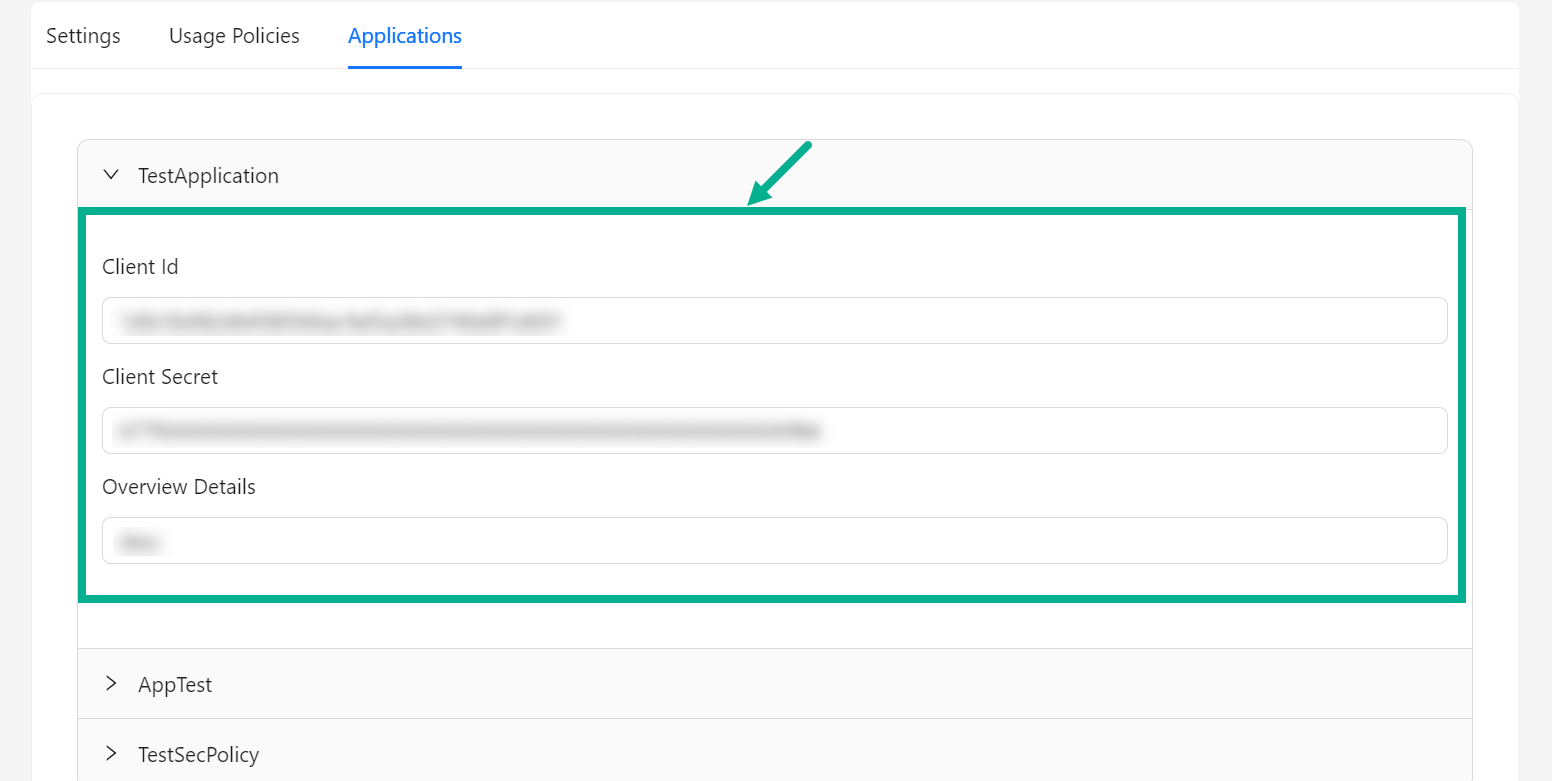
Click Applications tab.
The list of applications linked with the Subscription appears in the Applications tab.

- Click to expand the available application to view the details.